
Making jam is one of those things that always seemed Big. Intimidating. Hard. Only it's not (really!). And it's ridiculously tasty. Besides, once you have tasted homemade jam, you won't ever want to eat the store bought stuff again. Make a big batch so you won't ever have to. : )
I was lucky enough to be gift a gallon bag of sour cherries from a coworker with a cherry tree. A friend of mine gave me the idea to make the jam and she generously pointed me in the direction of a recipe. Or rather, a loose guide with no measurements or times or temperatures. It's good to fly by the seat of your pants sometimes. Builds character.
Want to see how we did it? Click here!
Ingredients
Cherries, lots of them
Sugar, lots of it
A couple of lemons
Directions
WASH your cherries
REMOVE stems (if yours have them, mine didn't)
PIT cherries
Your life will be amazingly easier if you buy a cherry pitter. They run about $15 and will (literally) save you hours of work.
Before:
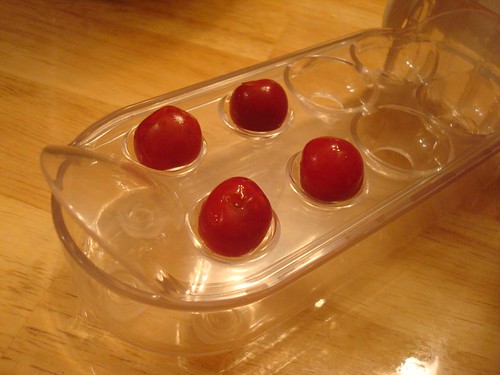
After:
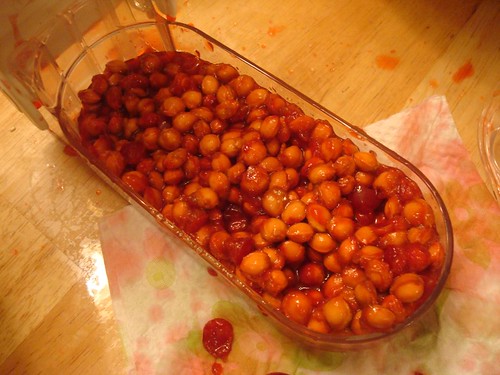
The juice will spray everywhere so put down some towels and wear an apron.
COARSELY CHOP the cherries.
Ours looked like this:

But you could go finer if you like smoother jams.
COOK the cherries over medium high heat in a big nonreactive stock pot.
We used our Calphalon pot, it worked just fine.
While your cherries are cooking, you'll want to zest your lemons and get started prepping your jars.
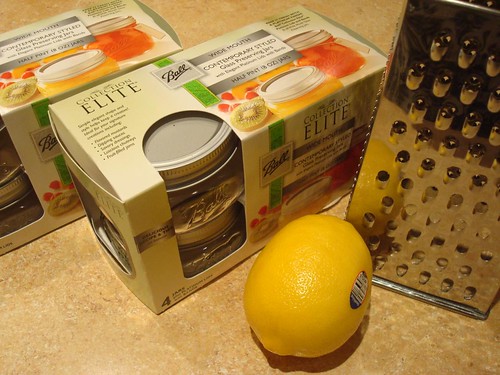
ZEST 1-2 lemons
ADD zest to cooking cherries
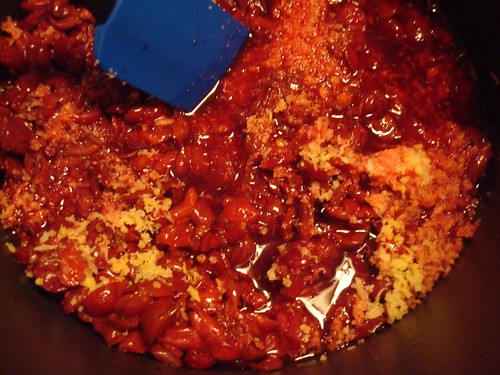
WASH jars and lids
BRING a large pot of water to a boil
BOIL jars for 5 minutes to sanitize
REMOVE from water and let cool
You will be much happier if you place your jars into the pot upside down. That way they will empty as you lift them and you don't end up trying to dump out a jar full of boiling water while holding said jar with tongs.
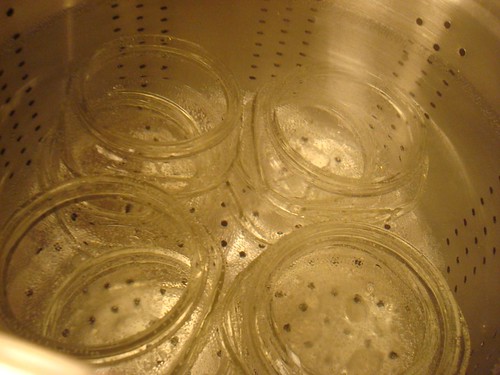
STIR cherries occasionally until completely soft
MEASURE amount of cherries (and juice) that you have

PLACE a small plate in the freezer
POUR cherries back into stockpot
ADD 3/4 cup sugar for every cup of cherries and juice that you measured
STIR often and COOK over medium to high heat
Once your cherries have begun to thicken and gel (It should be coating your spatula, as shown here) you are going to want to start testing to see if it's done.
REMOVE stockpot from heat
REMOVE plate from freezer
PLACE a small amount of jam on the plate
NUDGE jam with one finger, look for wrinkles
If it wrinkles, it's done, if it's not it needs to cook longer. This is what you are looking for:
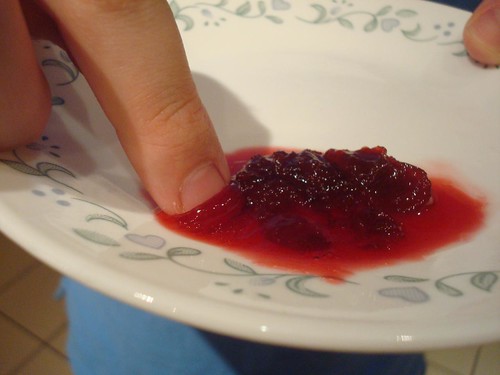
If you don't have wrinkles, wipe the plate off and return it to the freezer, return the wanna-be jam to the heat, cook a few minutes more and try again. It took us 3-4 tries before it was ready. Once it wrinkles, move onto the canning!
LADLE cooked jam into sanitized jars, leaving about 1/2" of head space
RUN a plastic knife through the jam to remove air bubbles
PLACE lid on top
SCREW lid band in place to secure lid, do not overtighten
PLACE jars back into the stockpot of water
BRING to a roiling boil
BOIL for 10 minutes
TURN off heat
REMOVE jars a dishtowel on trivets
LET COOL overnight
CHECK SEAL
The jar lids should be lowered and should not move when you press gently on them. They should not "pop" back up. If they are not sealed, you can try boiling them again with new caps and bands to seal. Or you can just refrigerate and eat! We didn't have any problems, so you should be fine.
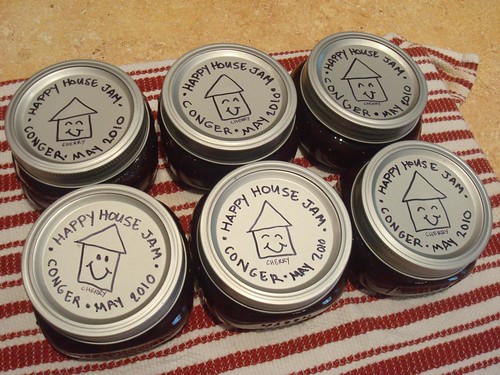
LABEL and DATE
Or if you are like me, draw cute pictures.
My Thoughts
1. This jam was a bit on the sour side (due to the sour cherries). My hubby thought it was fine, but if I were to make it again, I would probably do one cup of sugar to one cup of cherries. For sweeter fruits, you may have to adjust the other direction.
2. This whole process took 3-4 hours. About 1 hour to pit the cherries (with the handy dandy pitter!) and somewhere between 2 and 3 to actually make the jam. Definitely not the spooky scary thing it's made out to be. Now I really want to buy up all those nice, ripe, cheap strawberries at the market and make strawberry jam!
3. I got my canning information from Bella Online. It was, by far, the most helpful site I came across.

I just bought cherries and thought "I could do that"...until I figured out it's a lot of work :) Maybe I'll just eat the cherries! I'm, of course, bookmarking, in case I feel like getting off my butt and making some.
ReplyDeleteIt's work, but not hard work. And it makes those cherries last. : )
ReplyDelete